在本教程中,我们将向您展示如何在 Ubuntu 20.04 LTS 上安装 Samba。 对于那些不知道的人,Samba 是 SMB/CIFS 协议的免费软件重新实现或开源实现,它允许用户访问共享文件打印机和其他网络资源。
本文假设您至少具备 Linux 的基本知识,知道如何使用 shell,最重要的是,您将网站托管在自己的 VPS 上。 安装非常简单,假设您在 root 帐户下运行,如果不是,您可能需要添加 ‘sudo‘ 到命令以获取 root 权限。 我将向您展示在 Ubuntu 20.04 (Focal Fossa) 上逐步安装 Samba。 对于 Ubuntu 18.04、16.04 和任何其他基于 Debian 的发行版(如 Linux Mint),您可以按照相同的说明进行操作。
在 Ubuntu 20.04 LTS Focal Fossa 上安装 Samba
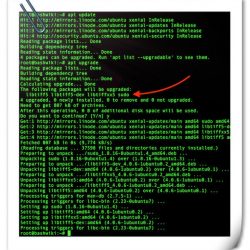
步骤 1. 首先,通过运行以下命令确保所有系统包都是最新的 apt 终端中的命令。
sudo apt update sudo apt upgrade
步骤 2. 配置主机文件。
我们需要将 Ubuntu 20.04 LTS 添加到 Windows 主机文件中。 为此,请在 Windows 中运行以下命令:
notepad C:WindowsSystem32driversetchosts
您需要为名为 ubuntu2004 的 Ubuntu 添加本地条目并保存:
192.168.1.3 ubuntu2004.localhost ubuntu2004
然后,运行下面的命令并输入带有 Windows 主机名的 IP,保存文件并退出:
sudo nano /etc/hosts
完成后,在具有管理权限的 Windows 中运行以下命令:
netsh advfirewall firewall set rule group="File and Printer Sharing" new enable=Yes netsh advfirewall firewall set rule group="Network Discovery" new enable=Yes
步骤 3. 在 Ubuntu 20.04 上安装 Samba。
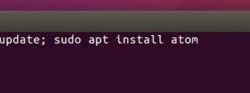
在终端中运行以下命令在 Ubuntu 系统上安装 Samba:
sudo apt install samba samba-common-bin
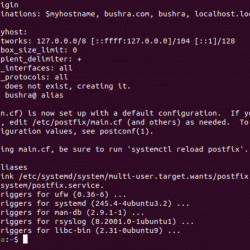
要验证 Samba 服务是否正在运行,请运行以下命令:
sudo systemctl status smbd
步骤 4. 配置 Samba 公共共享。
运行以下命令打开 Samba 配置:
sudo nano /etc/samba/smb.conf
在中添加以下行:
======================= Global Settings ======================= [global] ## Browsing/Identification ### # Change this to the workgroup/NT-domain name your Samba server will part of workgroup = WORKGROUPnetbios name = ubuntu2004 security = user proxy = no map to guest = bad user #### Networking #### # The specific set of interfaces / networks to bind to # This can be either the interface name or an IP address/netmask; # interface names are normally preferred interfaces = 127.0.0.0/8 eth0 # Only bind to the named interfaces and/or networks; you must use the # 'interfaces' option above to use this. bind interfaces only = yes #Most people will want "standalone server" or "member server". #Running as "active directory domain controller" will require firstserver role = standalone server obey pam restrictions = yes #This boolean parameter controls whether Samba attempts to sync the Unix[public] path = /samba/public browseable = yes guest ok = yes guest only = yes read only = no force user = nobody force create mode = 0777 force directory mode = 0777
进行更改后重新启动 Samba 守护程序:
sudo systemctl restart smbd
接下来,您需要创建一个公共文件夹,每个人都应该有权访问:
sudo mkdir -p /samba/public
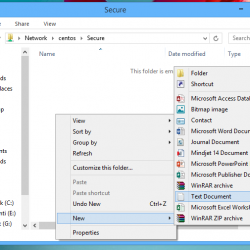
成功后,重新启动 Samba 服务器。 您可以在 Windows 10 或您正在使用的任何 Windows 中查看共享文件夹。
步骤 5. 配置防火墙。
如果您有活动的防火墙,请运行:
sudo ufw allow 'Samba'
恭喜! 您已成功安装 Samba。 感谢您使用本教程在您的 Ubuntu 20.04 LTS Focal Fossa 系统上安装 Samba。 如需其他帮助或有用信息,我们建议您查看 Samba 官方网站.